URL: http://glslsandbox.com/e#27370.3
Notes:
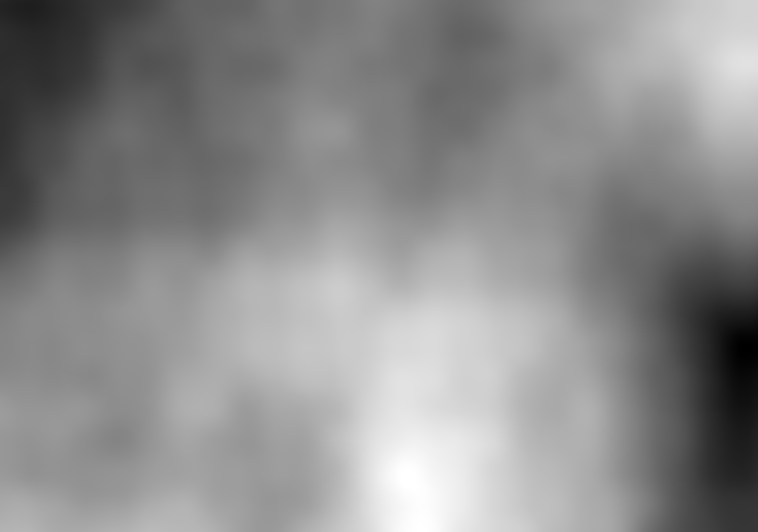
Noise is a fundamental building block for generating interesting textures procedurally. Noise can be used to map colors, generate bump maps, serve as offsets for other texture patterns, and more! So having a good understanding and insight into how to generate noise is very important. In this shader, I explain just how to do that!
|
1 2 3 4 5 6 7 8 9 10 11 12 13 14 15 16 17 18 19 20 21 22 23 24 25 26 27 28 29 30 31 32 33 34 35 36 37 38 39 40 41 42 43 44 45 46 47 48 49 50 51 52 53 54 55 56 57 58 59 60 61 62 63 64 65 66 67 68 69 70 71 72 73 74 75 76 77 78 79 80 81 82 83 84 85 86 87 88 89 90 91 92 93 94 95 96 97 98 99 100 101 102 103 104 105 106 107 108 109 110 111 112 113 114 115 116 |
// GLSL Noise Tutorial // By: Brandon Fogerty // bfogerty at gmail dot com // xdpixel.com // Special thanks to IQ and Scratch a Pixel! // Noise can be used to generate various kinds of effects in computer graphics. // Learning how to generate noise in a shader will help you greatly in // creating cool glsl shader effects! #ifdef GL_ES precision mediump float; #endif uniform float time; uniform vec2 mouse; uniform vec2 resolution; // GLSL doesn't have a random function. So we have to create one ourself. // We would like a random number somewhere between 0.0 and 1.0. // We can get that by using the fract function which returns the fractional // component of a number. The constant numbers in this function don't matter // too much. They just need to be random. float hash( vec2 p ) { return fract( sin( dot(p, vec2( 15.79, 81.93 ) ) * 45678.9123 ) ); } // Our valueNoise function will bilinearly interpolate a lattice (aka grid) // and return a smoothed value. This function will essentially allow us to generate // 2D static. Bilinear interpolation basically allows us to transform our 1D hash function to a value based on a 2D grid. // This will eventually be run through an fbm to help us generate a // cloud like pattern. // For more information about bilinear filtering, check out Scratch A Pixel's article. // http://www.scratchapixel.com/old/lessons/3d-advanced-lessons/interpolation/bilinear-interpolation/ // For more info on Value based noise check this url out // http://www.scratchapixel.com/old/lessons/3d-advanced-lessons/noise-part-1/creating-a-simple-2d-noise/ float valueNoise( vec2 p ) { // i is an integer that allow us to move along grid points. vec2 i = floor( p ); // f will be used as an offset between the grid points. vec2 f = fract( p ); // Hermite Curve. // The formula 3f^2 - 2f^3 generates an S curve between 0.0 and 1.0. // If we factor out the variable f, we get f*f*(3.0 - 2.0*f) // This allows us to smoothly interpolate along an s curve between our grid points. // To see the S curve graph, go to the following url. // https://www.desmos.com/calculator/mnrgw3yias f = f*f*(3.0 - 2.0*f); // Interpolate the along the bottom of our grid. float bottomOfGrid = mix( hash( i + vec2( 0.0, 0.0 ) ), hash( i + vec2( 1.0, 0.0 ) ), f.x ); // Interpolate the along the top of our grid. float topOfGrid = mix( hash( i + vec2( 0.0, 1.0 ) ), hash( i + vec2( 1.0, 1.0 ) ), f.x ); // We have now interpolated the horizontal top and bottom grid lines. // We will now interpolate the vertical line between those 2 horizontal points // to get our final value for noise. float t = mix( bottomOfGrid, topOfGrid, f.y ); return t; } // fbm stands for "Fractional Brownian Motion". // Essentially this function calls our valueNoise function multiple // times and adds up the results. By adding various frequences of noise // at different amplitudes, we can generate a simple cloud like pattern. float fbm( vec2 uv ) { float sum = 0.00; float amp = 0.7; for( int i = 0; i < 4; ++i ) { sum += valueNoise( uv ) * amp; uv += uv * 1.2; amp *= 0.4; } return sum; } // This is where everything starts! void main( void ) { // gl_FragCoord.xy is the coordinate of the current pixel being rendered. // It is in screen space. For example if you resolution is 800x600, gl_FragCoord.xy // could be (300,400). By dividing the fragcoord by the resolution, we get normalized // coordinates between 0.0 and 1.0. I would like to work in a -1.0 to 1.0 space // so I multiply the result by 2.0 and subtract 1.0 from it. // if (gl_FragCoord.xy / resolution.xy) equals 0.0, then 0.0 * 2.0 - 1.0 = -1.0 // if (gl_FragCoord.xy / resolution.xy) equals 1.0, then 1.0 * 2.0 - 1.0 = 1.0 vec2 uv = ( gl_FragCoord.xy / resolution.xy ) * 2.0 - 1.0; // I am assuming you have more pixels horizontally than vertically so I am multiplying // the x coordinate by the aspect ratio. This means that the magnitude of x coordinate will probably // be larger than 1.0. This allows our image to not look squashed. uv.x *= resolution.x / resolution.y; // Pass in a coordinate and get a cloud based scalar value back. // We will use this value to generate a gray-scale based color to display our cloud. float t = fbm( uv * 2.0 ); vec3 finalColor = vec3( t, t, t ); // If you want to add color to your cloud, multiply each t red/green/blue component by some weight. // You can uncomment the following line to see and example. //finalColor = vec3( t * 2.0, t * 4.0, t * 8.0 ) * 0.3; // And voila! We are done! We should now have a cloud! =D // gl_FragColor is the final color we want to render for whatever pixel we are currently rendering. gl_FragColor = vec4( finalColor, 1.0 ); } |